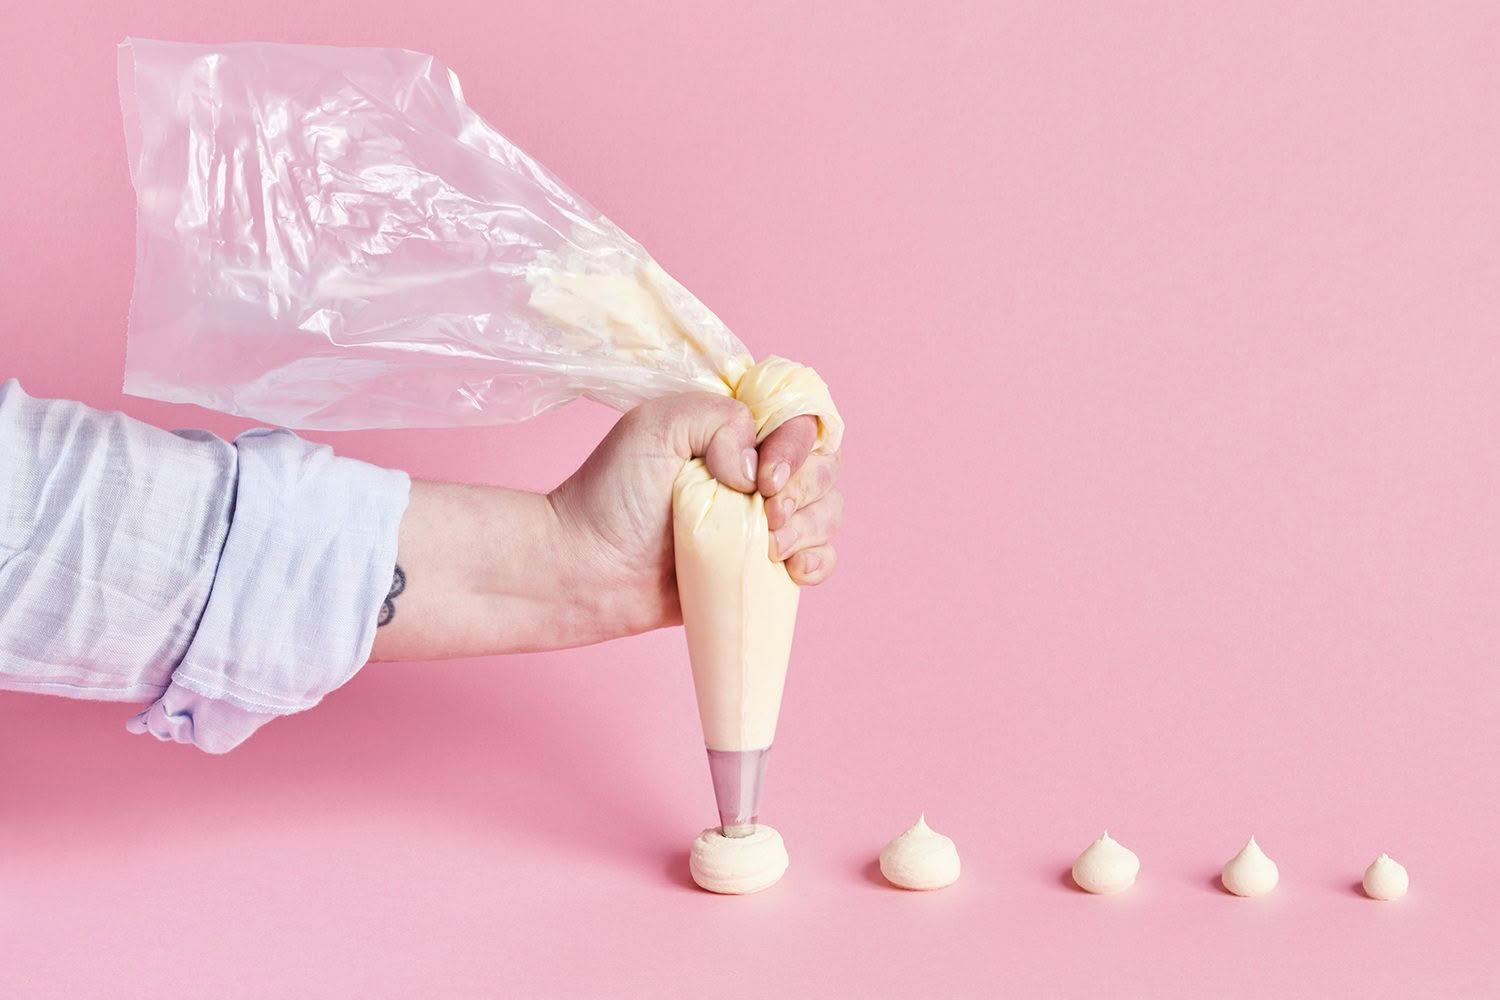
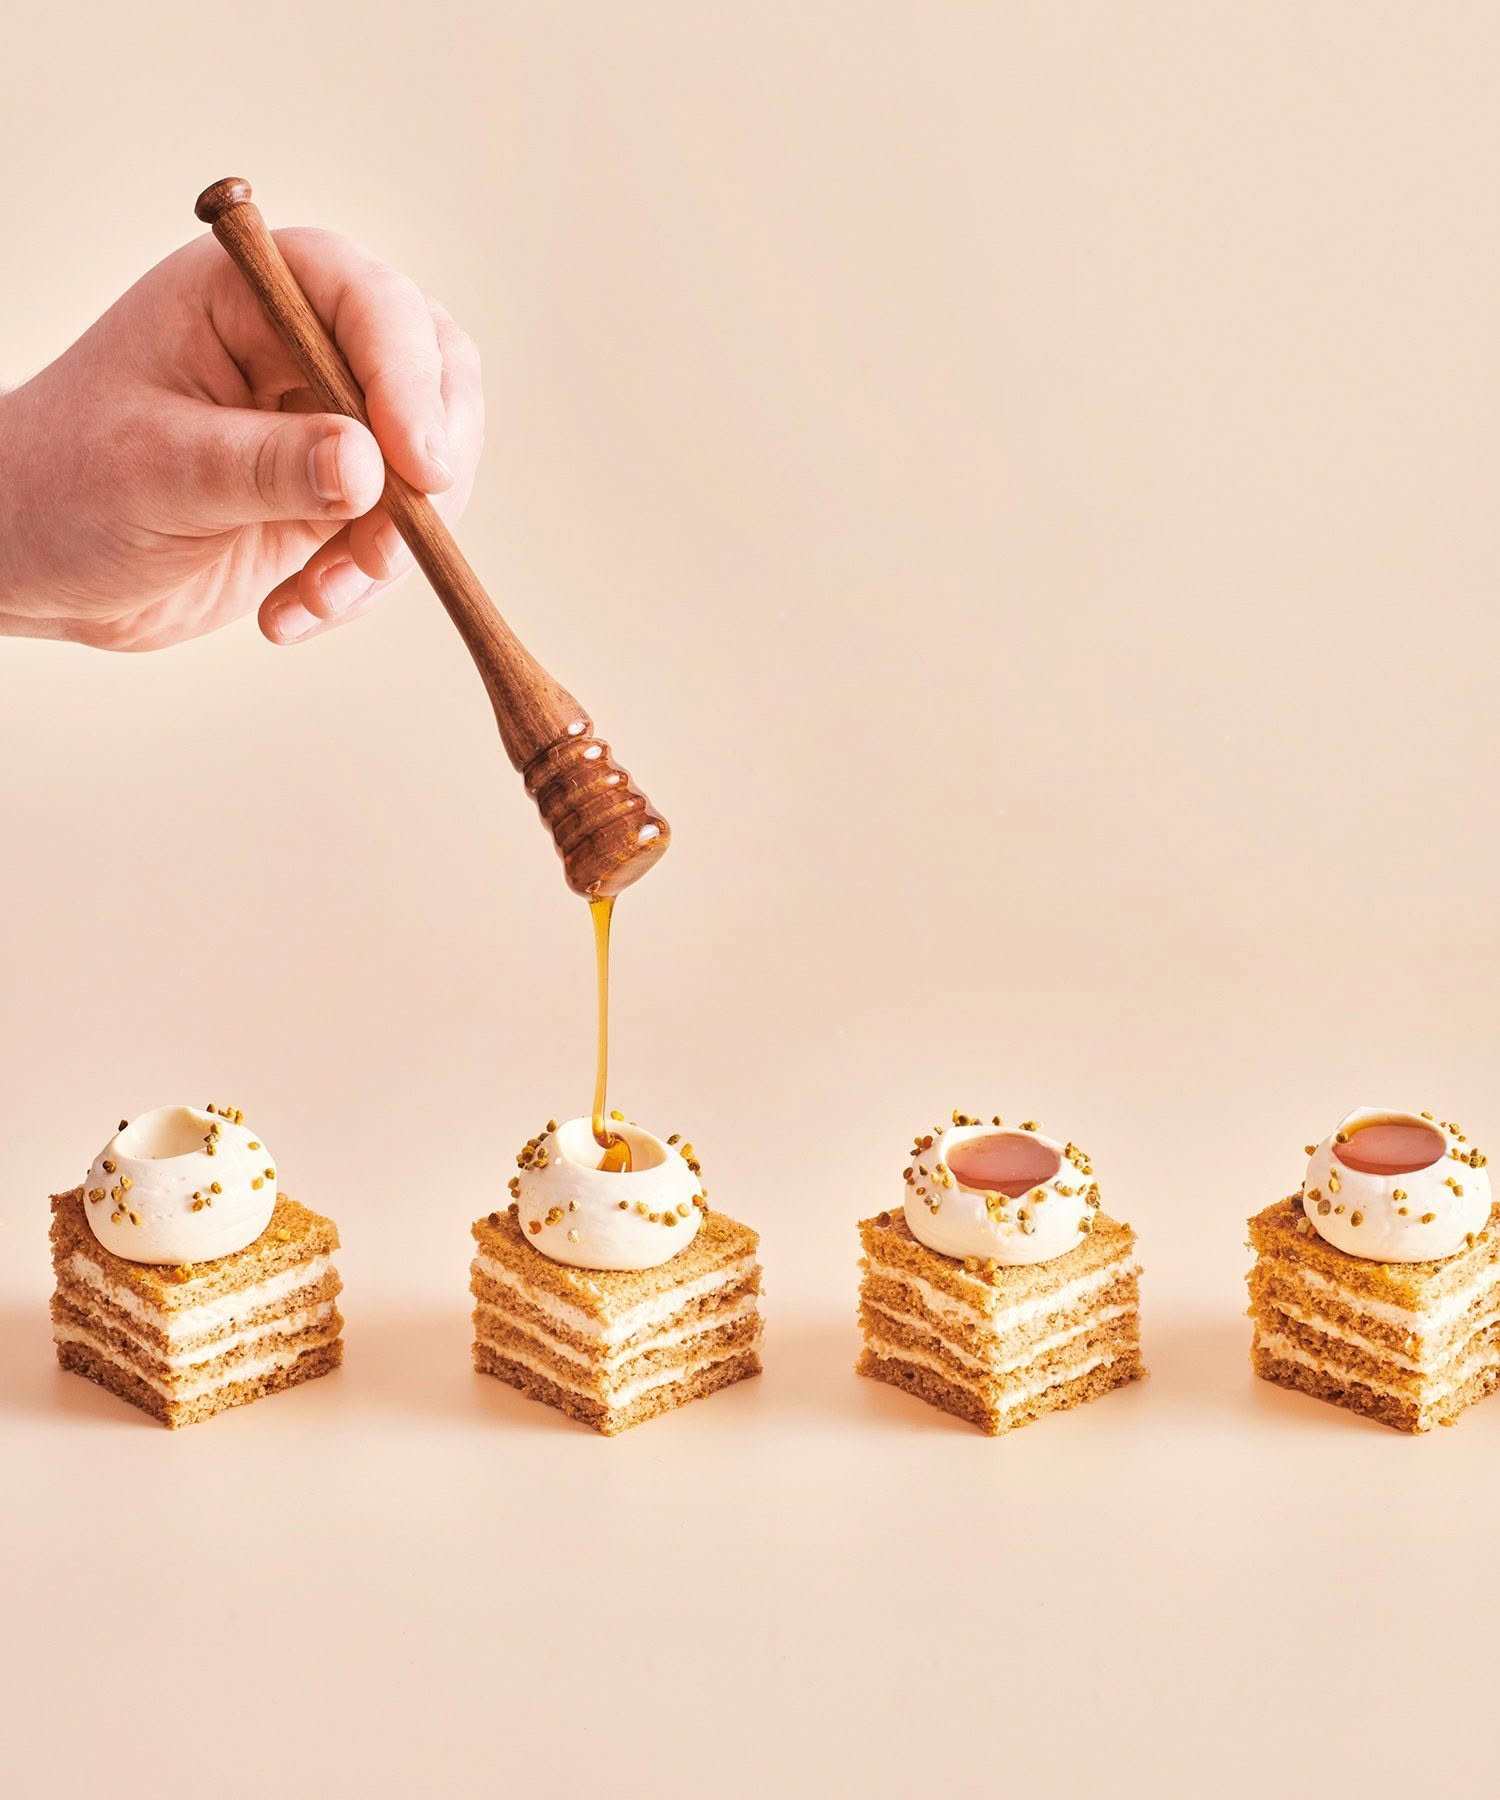
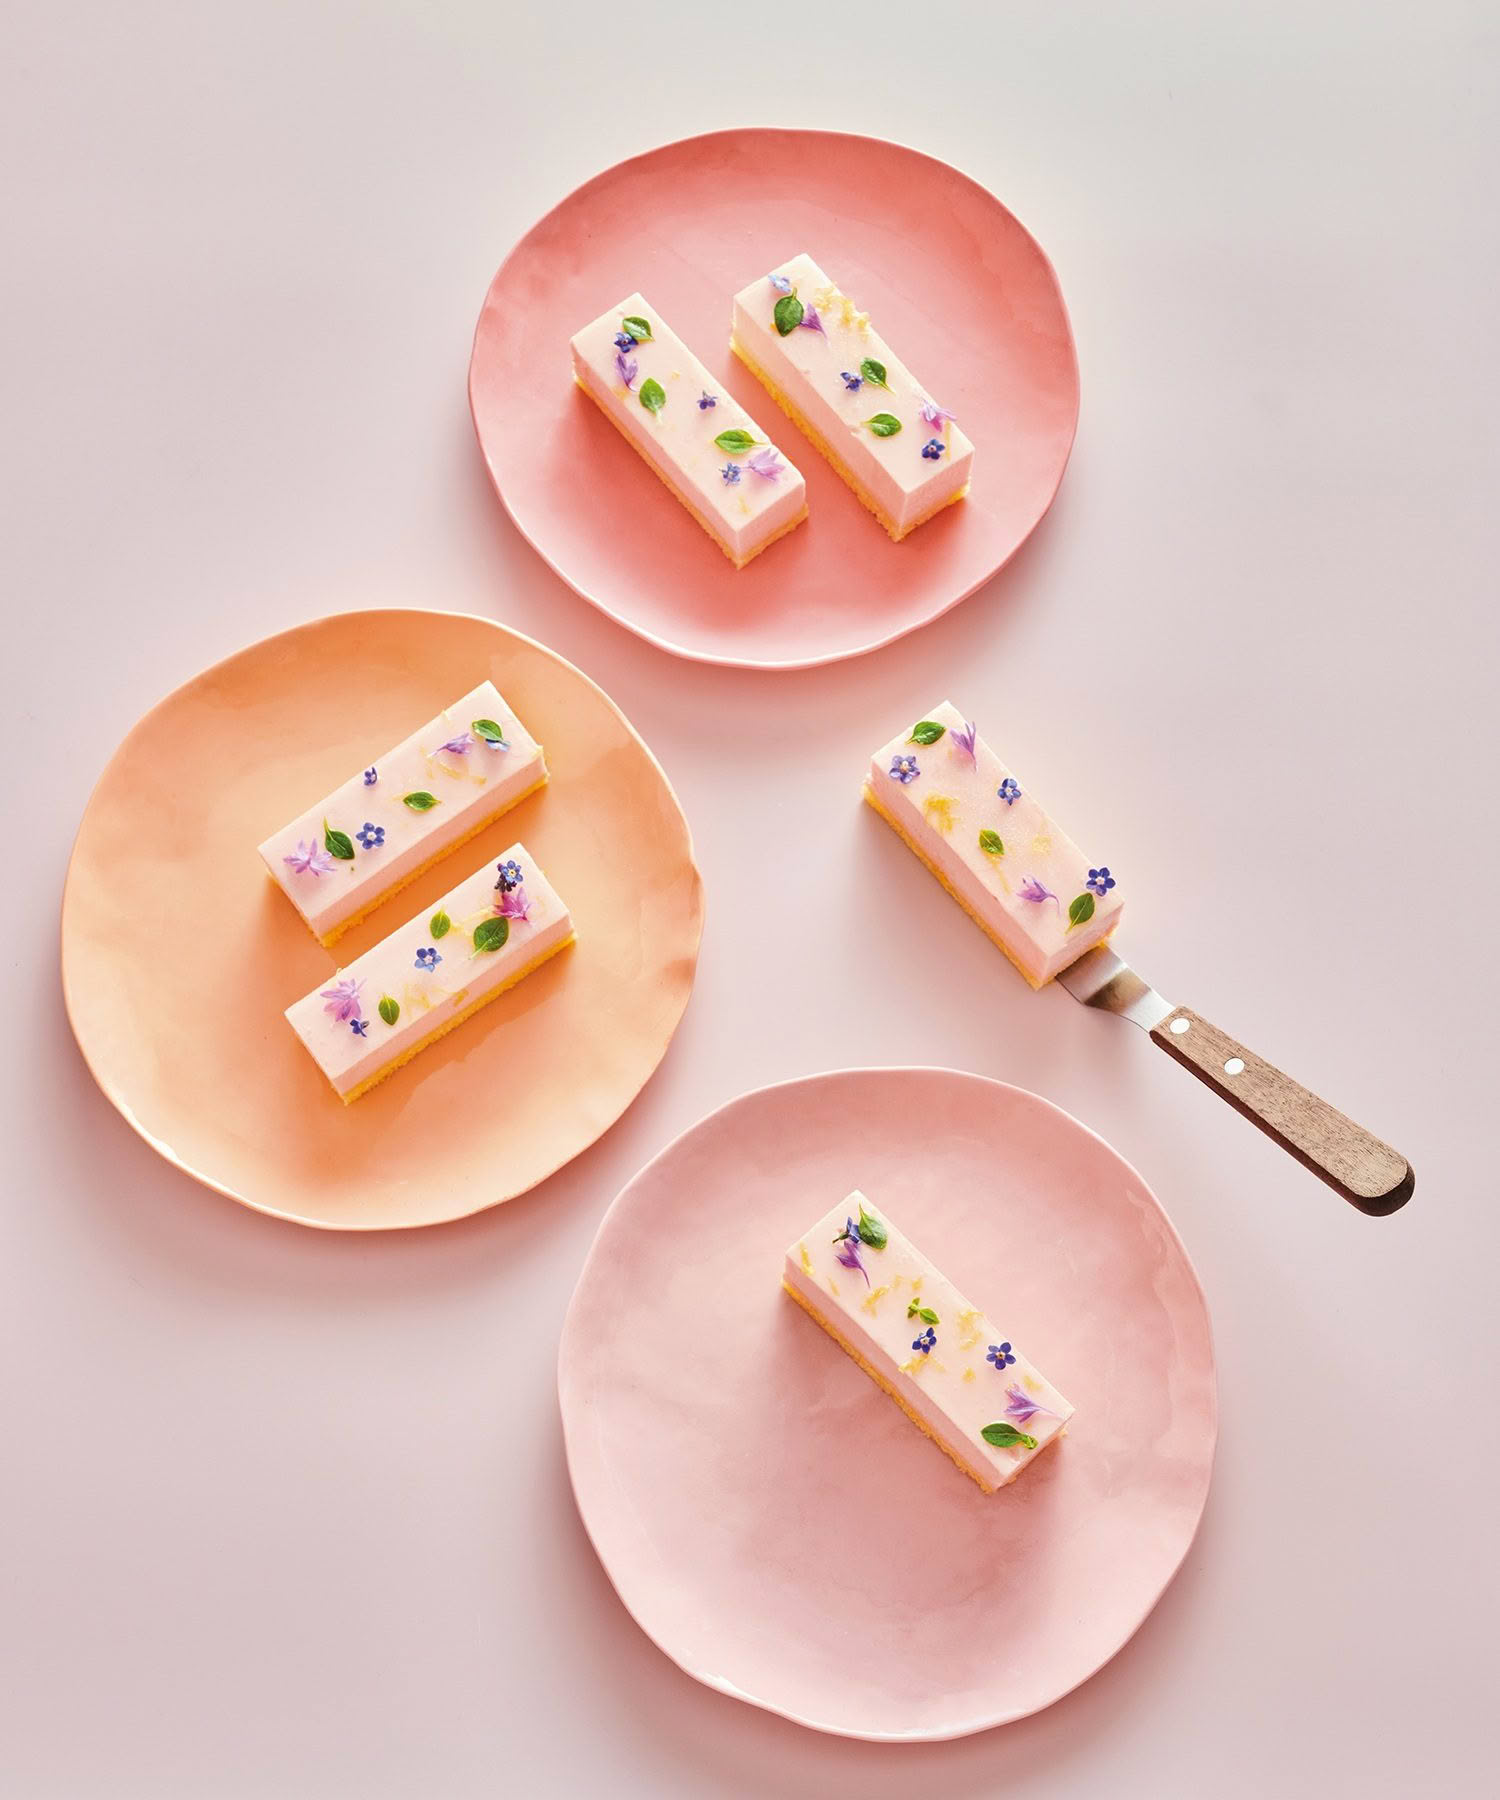
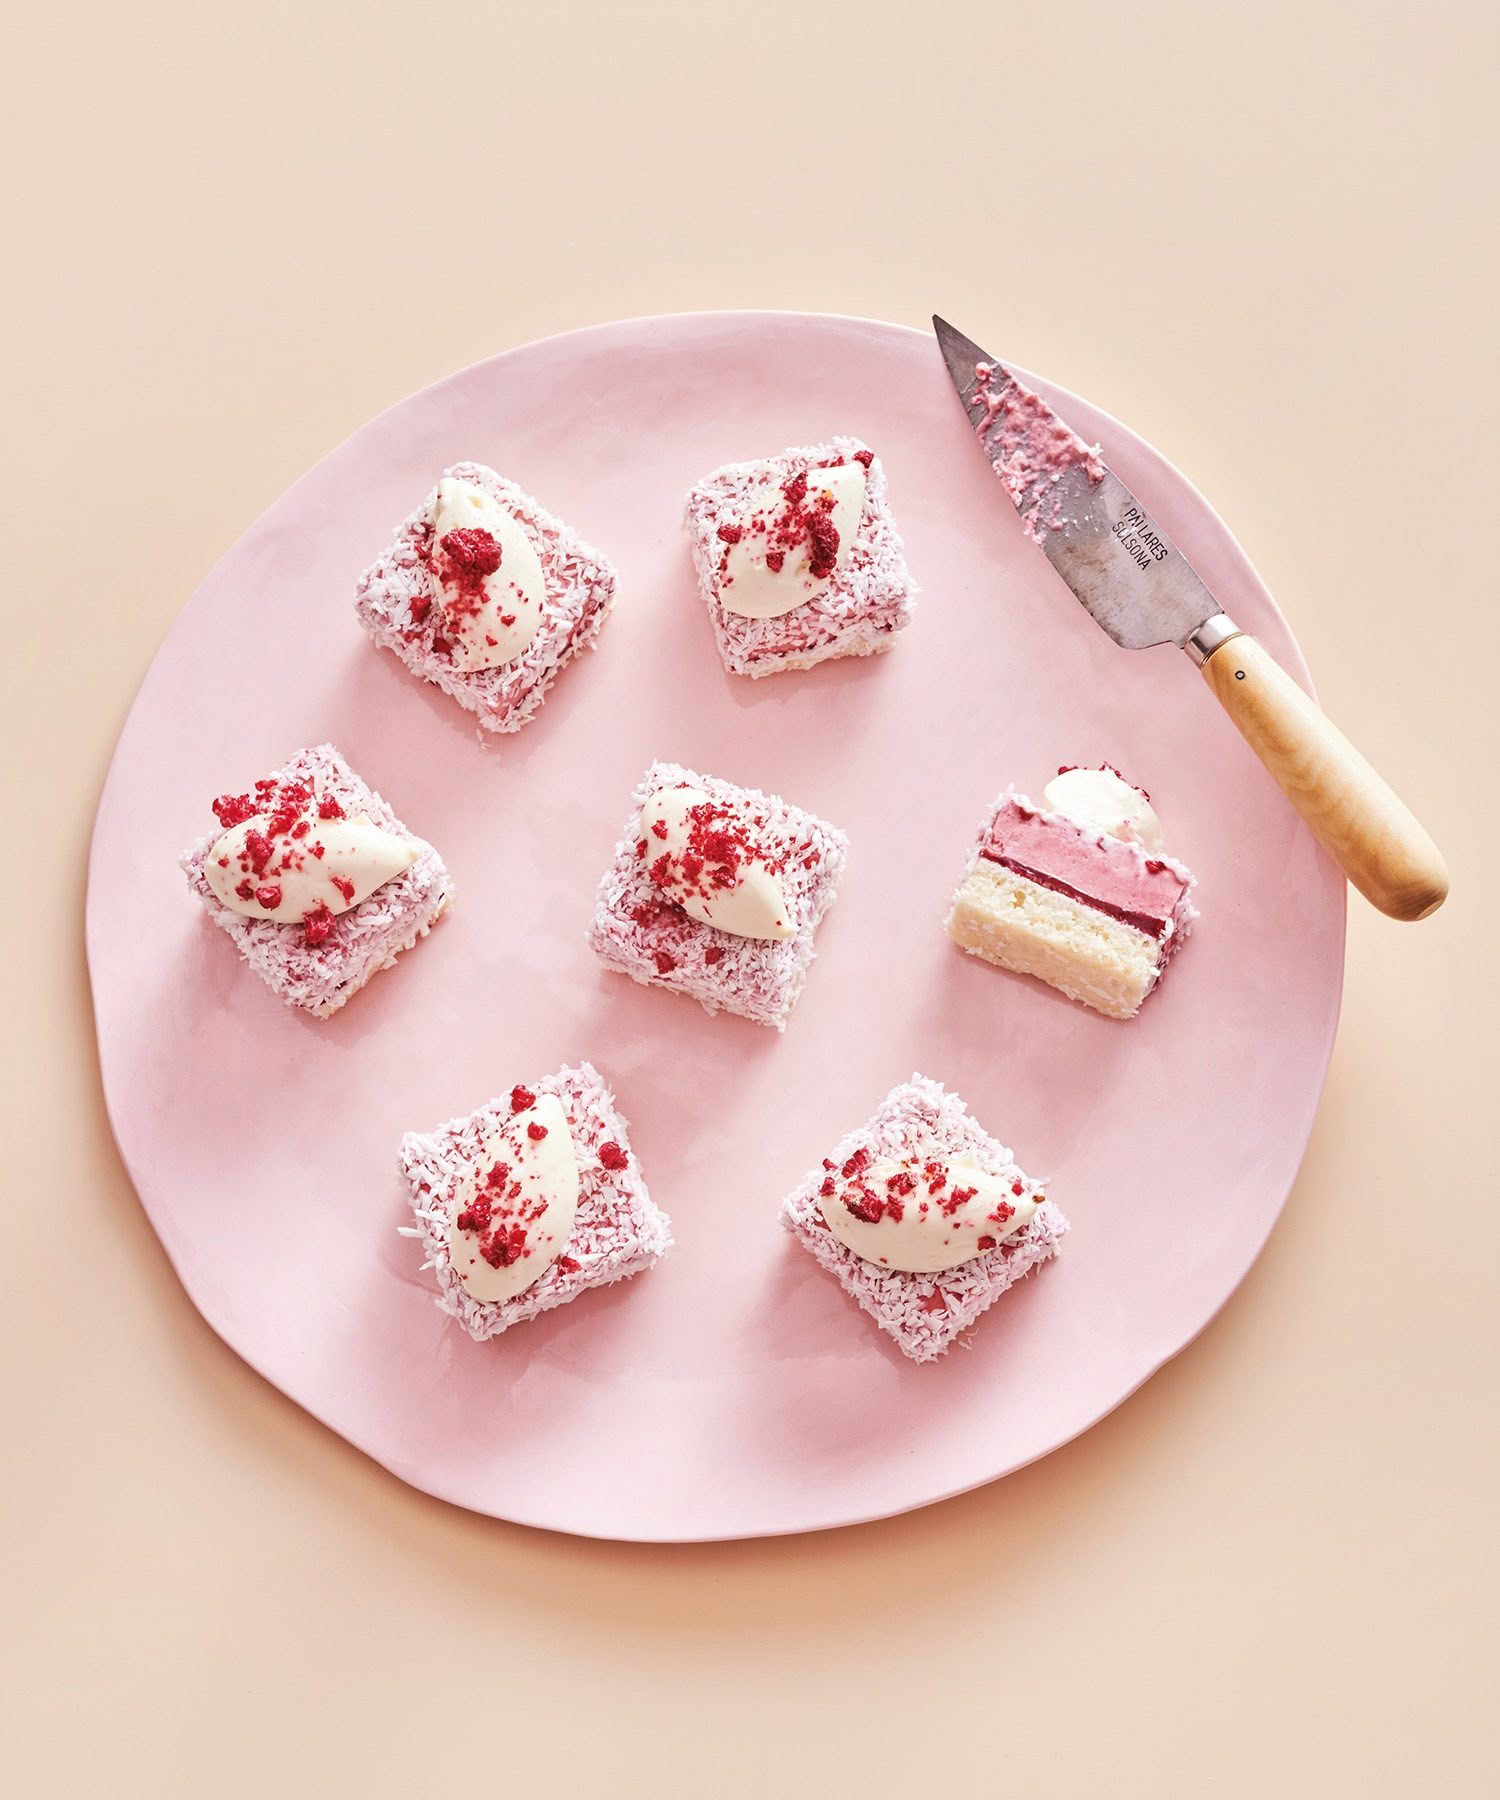
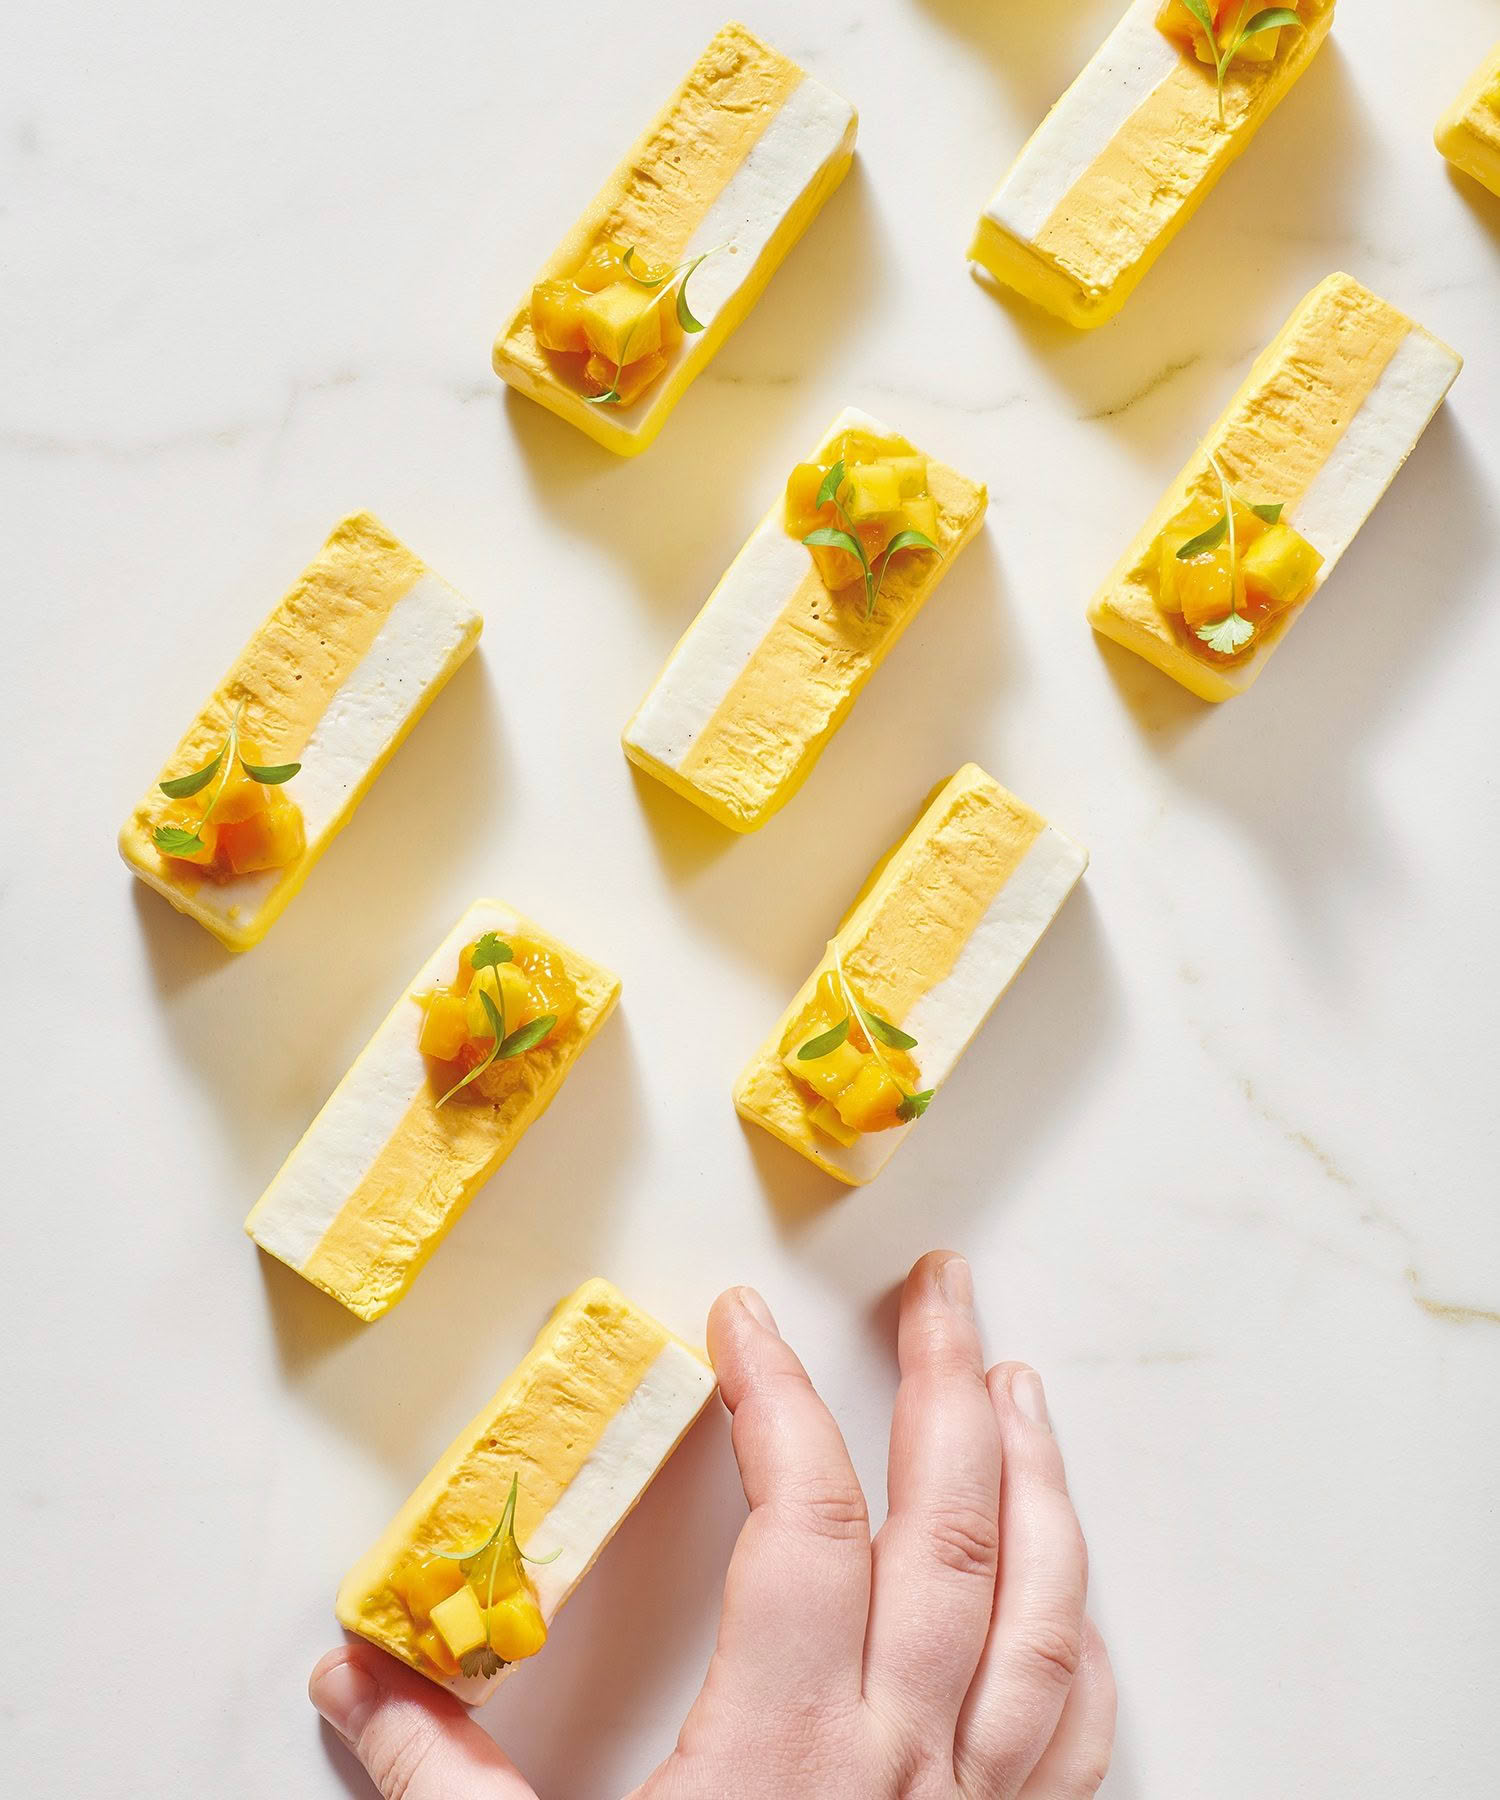
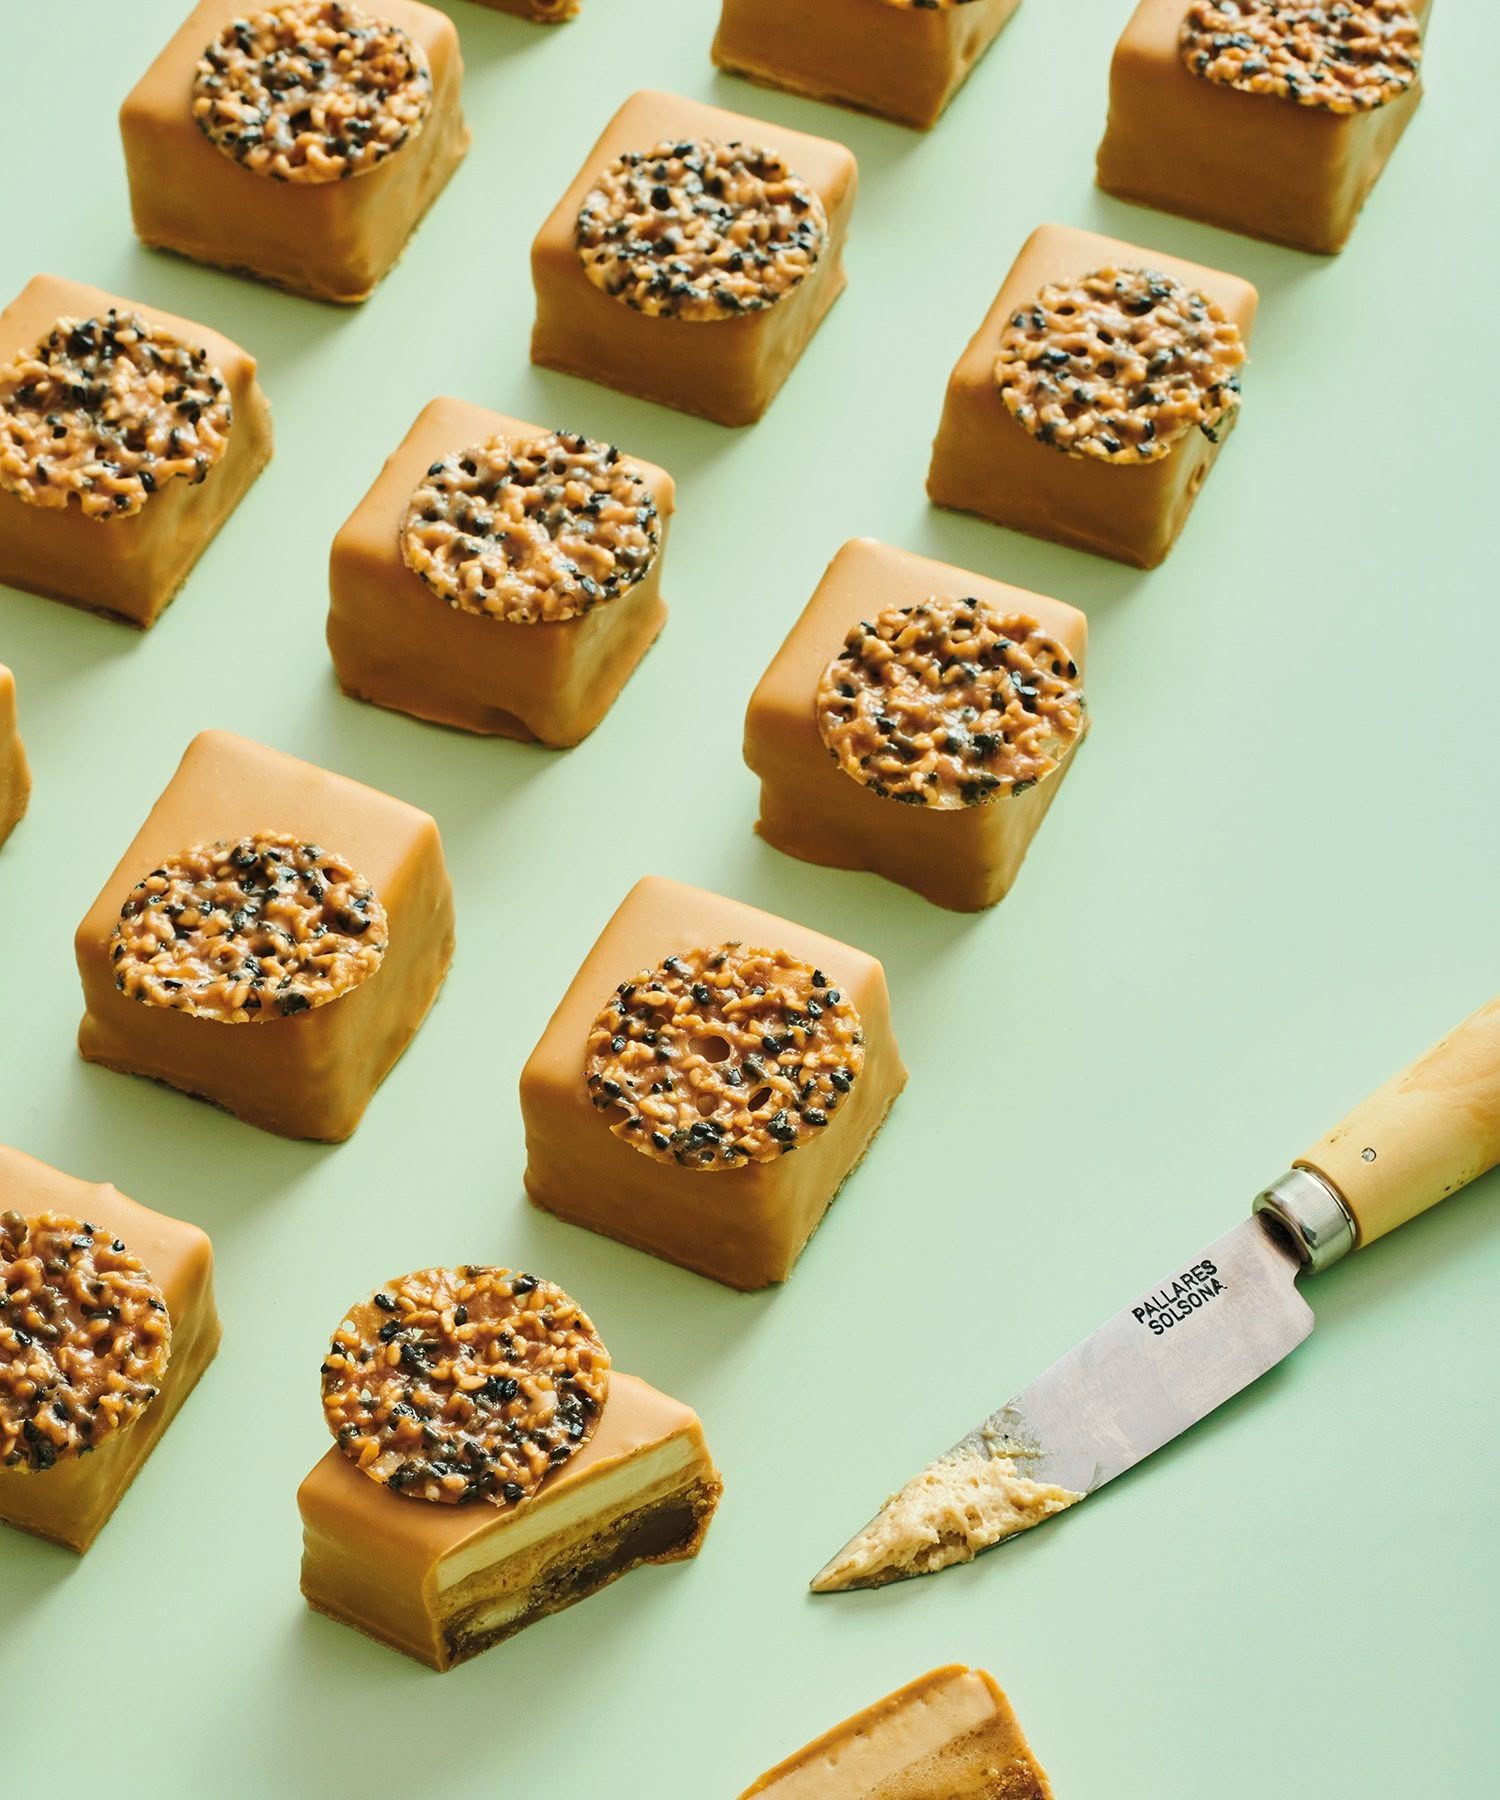
Petit gâteaux is french for ‘little cake’ (gâteaux with an x is the plural, meaning cakes). The English word cake usually means a baked sponge covered in icing, but in France and many parts of Europe, gâteau refers to a multi-layered dessert. There’s no exact requirement for a petit gâteau besides the size. A petit gâteau is generally the perfect size for dessert for one person. Any smaller and it becomes a petit four, which are bite-sized. Any larger and it loses the ‘petit’ and turns into a gâteau. There are normally at least three components in a gâteau, with multiple textures and flavours, to give the perfect bite.
Inspiration for your gâteaux can come from anywhere. You may start with a decoration you want to try and work your gâteau around that, or you can be inspired by flavours you find in other food or drinks. I often start with something simple – maybe an ice cream that I love, or a fruit that I want to showcase – and build from there.
TECHNIQUES
PORTIONING
Pastry chefs love the freezer. Cutting a frozen gâteau gives a clean, sharp cut that reveals the components and layers you worked so hard on. A large knife with a warm blade also helps. Either go the unnecessary, but very badass, route of warming the blade of your knife with a blowtorch each time you make a cut, or simply dunk the blade of your knife into boiling water. Make sure to dry the blade before making each cut. You always want to wipe the blade with a cloth or paper towel between each slice, as this will help you get the perfect side profile and keep the layers nice and clean.
Give your gâteau up to 5 minutes on the bench before starting to portion it, especially if it’s been frozen overnight, just to make it slightly easier to cut. You should start by trimming the edge so you have a nice, clean cut to start with. Then follow the measurements on each recipe to create the desired shape. These measurements are simply a guide, and you can cut your gâteau into any shapes you like. Generally, the measurements provided will result in between 16 and 24 petits gâteaux. (Remember, the majority of the recipes can and should be frozen, meaning you won’t have to eat 24 petits gâteaux all at once. But if you want to try, who am I to stop you!)
I like to start by cutting my gâteau into sections that are all the length suggested in the recipe then I cut them into the correlating width to get individual portions.
The recipe will also tell you if your gâteau needs to stay frozen in order to be finished. This is usually when it needs to be glazed or dipped in chablon once portioned, or if you can store it in the fridge until finishing.
CHABLON
Using a chablon, a mix of chocolate and fat, to create a shell around your gâteau is a great way to add texture and flavour. Your chablon should be a smooth pouring consistency, between 30°C and 35°C before you begin to use it. Make sure you keep an eye on the temperature of your chablon, reheating it as needed.
DIPPING IN CHABLON
TO FULLY COAT YOUR GÂTEAU
First pierce each portion with a toothpick and use the toothpick to dunk the gâteau into the chablon. Dip the entire gâteau in the chablon mix, coating the sides, top and bottom. Because your gâteau is frozen, it will immediately start to set the chablon. You will need to work quickly: dunk your gâteau in and allow any excess to drip off for a few seconds. Scrape the base on the edge of the bowl to get as much of the liquid chocolate off as possible. You’ll then need to scrape the base across a sheet of baking paper, to allow more of the chablon to drip off leaving you with as thin a layer as possible.
TO LEAVE THE TOP OF THE GÂTEAU EXPOSED, & ONLY DIP THE SIDES AND BASE
Follow the instructions above, but leave the top of the gâteau exposed, and only dip the sides and base. Then repeat the scraping as above.
For both methods you may need to reheat your chablon occasionally while using it, as if it gets too cold your coating will start to become very thick. At the end of each recipe you should have a bit of chablon left over, as you always need an excess to be able to dip each gâteau. You can either store your remaining chablon in an airtight container in the pantry for up to one month, re-melting it as needed, or you can set it in the fridge and then eat it like a chocolate bar. I often do the latter, but instead of eating it I’ll chop it up and use it in place of chocolate pieces in cookies.
COLOURING CHOCOLATE OR CHABLON
Colouring chocolate is a bit more tricky than it sounds. As chocolate will seize with even a drop of liquid, you can’t use the normal food colouring you’d find at the supermarket.
Chocolate-specific colouring is fat soluble, and mostly comes in powdered form. You can purchase it at specialty cake shops. Powdered colouring tends to be quite expensive; however, you don’t need a lot as it is quite powerful. Natural alternatives include freeze-dried fruit powders and colourful spices, such as turmeric or saffron. When colouring chocolate make sure you pass the powder through a small sieve or tea strainer first, as this will help it dissolve better. I also like to use a stick blender for larger amounts, or a little handheld milk frother for smaller amounts. This helps blend the colouring into the melted chocolate and makes the pigment stronger. The amount of colour you need will vary greatly depending on what brand and type of colouring you use, which is why amounts of colouring are not specified in these recipes. Start with a small drop or pinch, and add more colouring as desired. When colouring chocolate, I like to melt the chocolate, colour it to the desired shade, and then temper it.
These colouring guidelines also apply to colouring chablon, the chocolate and oil dip that’s used to finish many of the gâteaux in this book.
SEE MORE FROM CUISINE