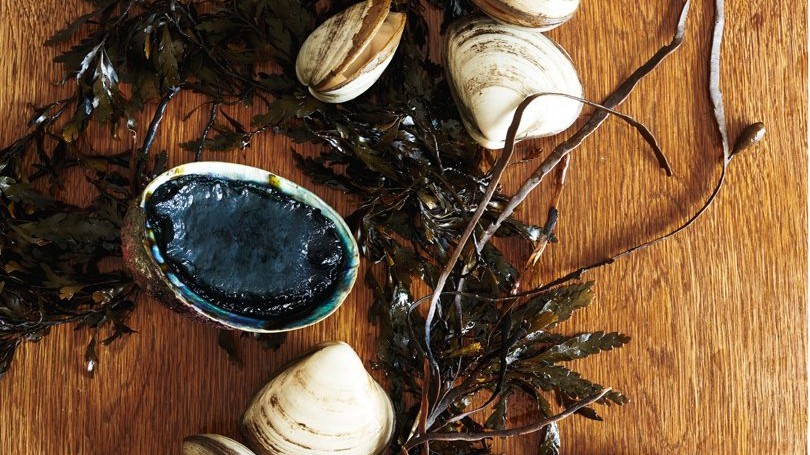
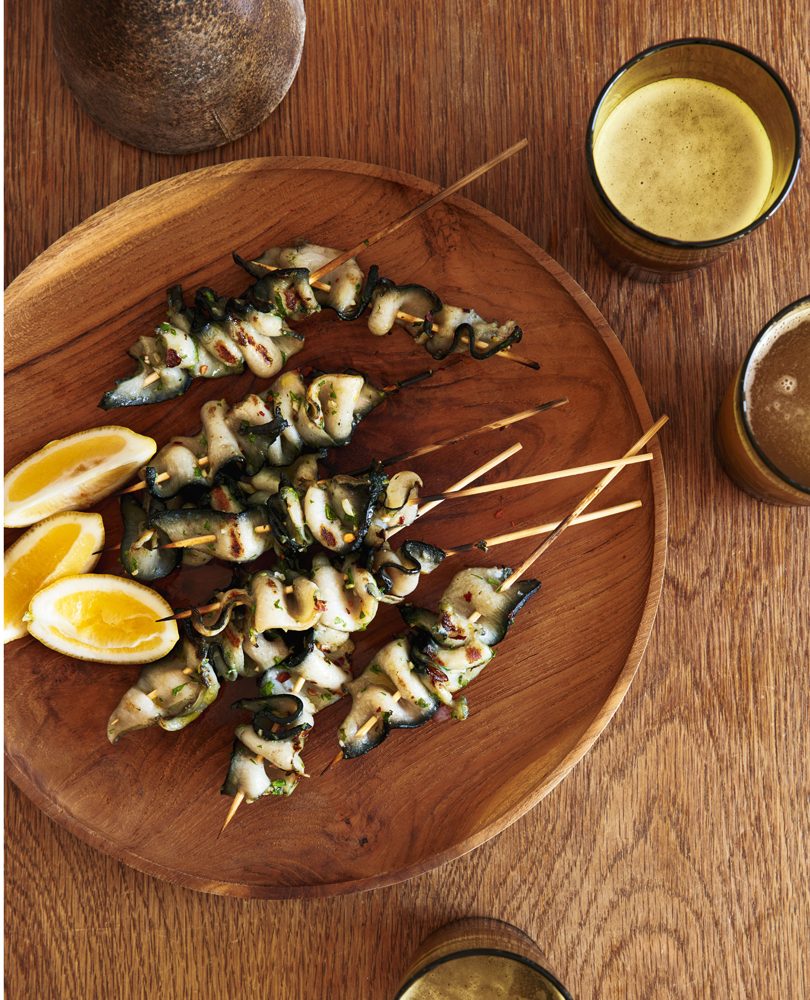
Prepare pāua, storm shell clams and octopus with confidence with these fresh and inspiring recipes by Ginny Grant.
Storm shell clams, octopus and pāua are three kai moana that you might not have considered cooking – the tricky ones, the ones you wrestle with, the ones you avoid. Why? Maybe they look too complicated to prepare or you have a fear of doing it the wrong way; it could be the ‘yuck’ factor; or, more than likely, you’ve had them prepared badly, tasting tough as boots and unpleasant. But octopus (wheke), pāua and storm shell clams all make for delectable eating – a little care is required but the rewards are sparkling.
STORM SHELL CLAMS
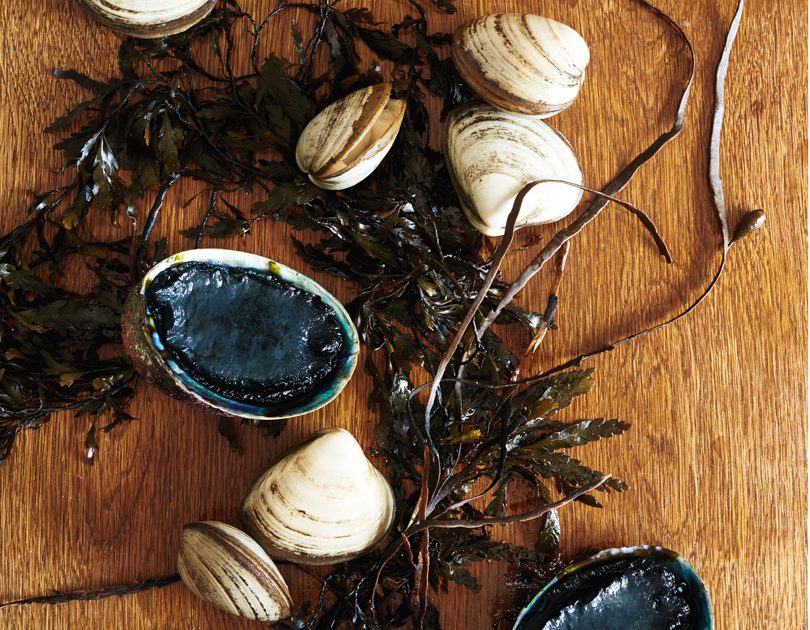
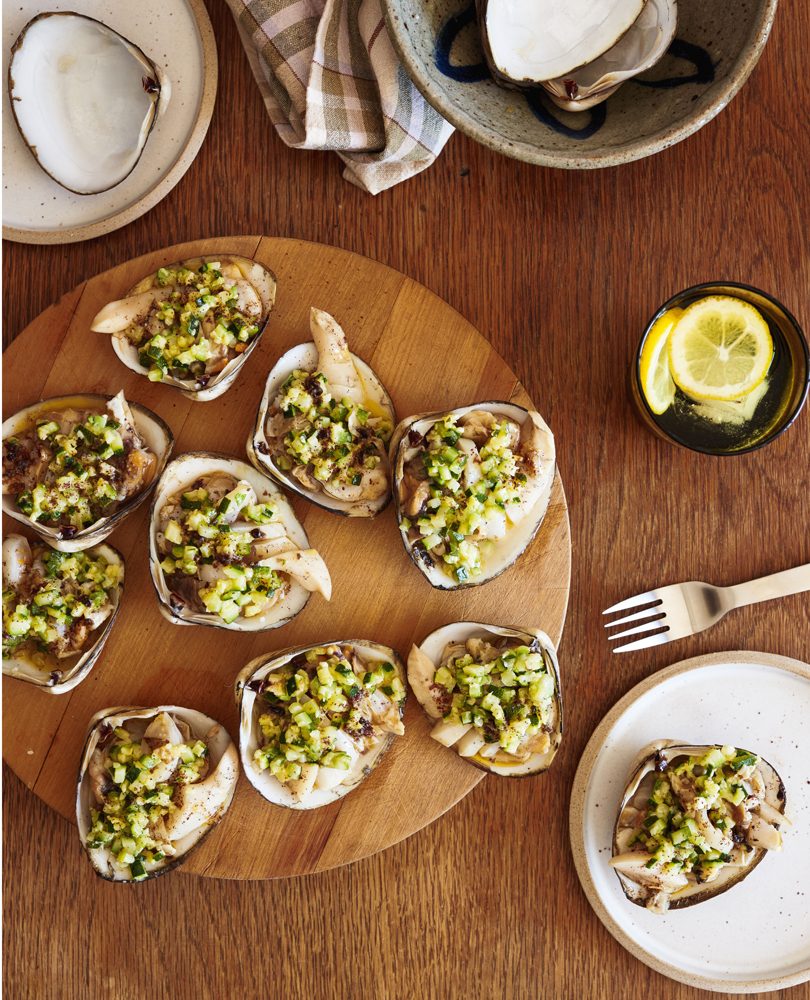
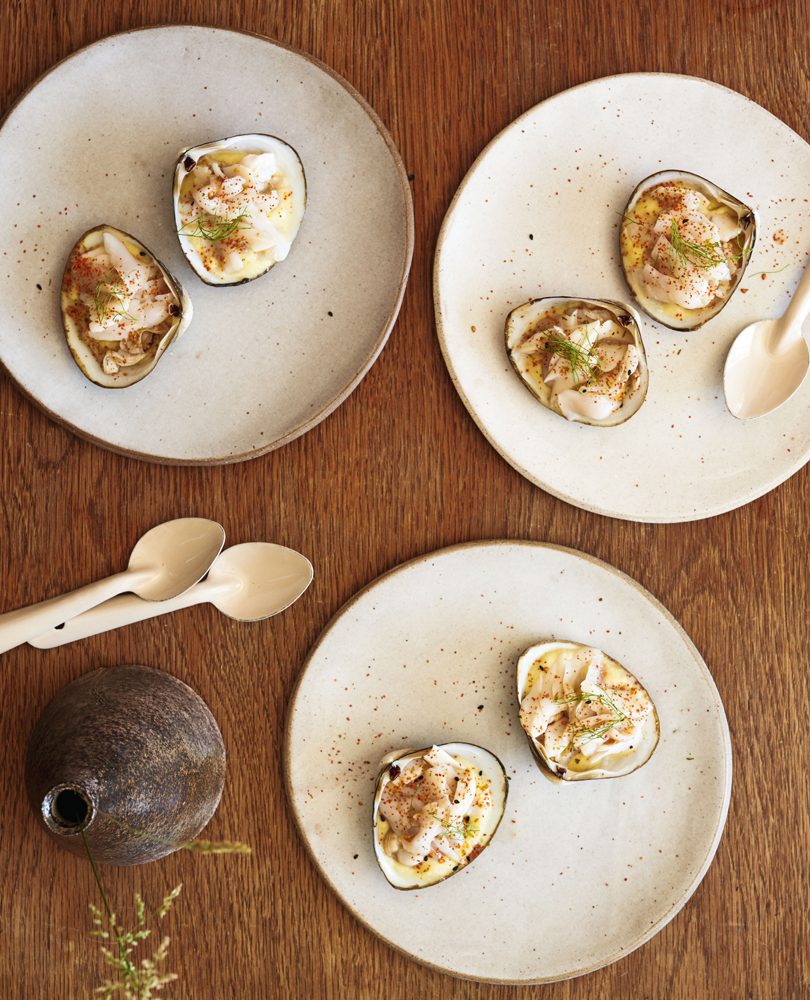
Why does the size of these large surf clams scare punters? Their size makes them perfect for serving as an appetiser or snack, though potential chewiness from overcooking is the biggest impediment to their enjoyment. The tongue and adductor muscle are sweet and creamy white with a flavour reminiscent of scallops, while the darker-coloured body has a richer, more pronounced flavour. I think it’s essential not to overcook them and in both these recipes I’ve shucked the clams first. They are much easier to shuck than say an oyster or a mussel; simply put into the fridge or freezer for 30 minutes, then as you take them out of the fridge the clam shells should open a little and it’s easy to run a shucking tool or flat-bladed knife along to cut the adductor muscle from the shell. Of course, as for any bivalve, you can also steam them open in a pan with water or whatever flavourings you choose, or in a hot pan or barbecue. They do take a little longer to open than say a mussel or smaller clam.
OCTOPUS
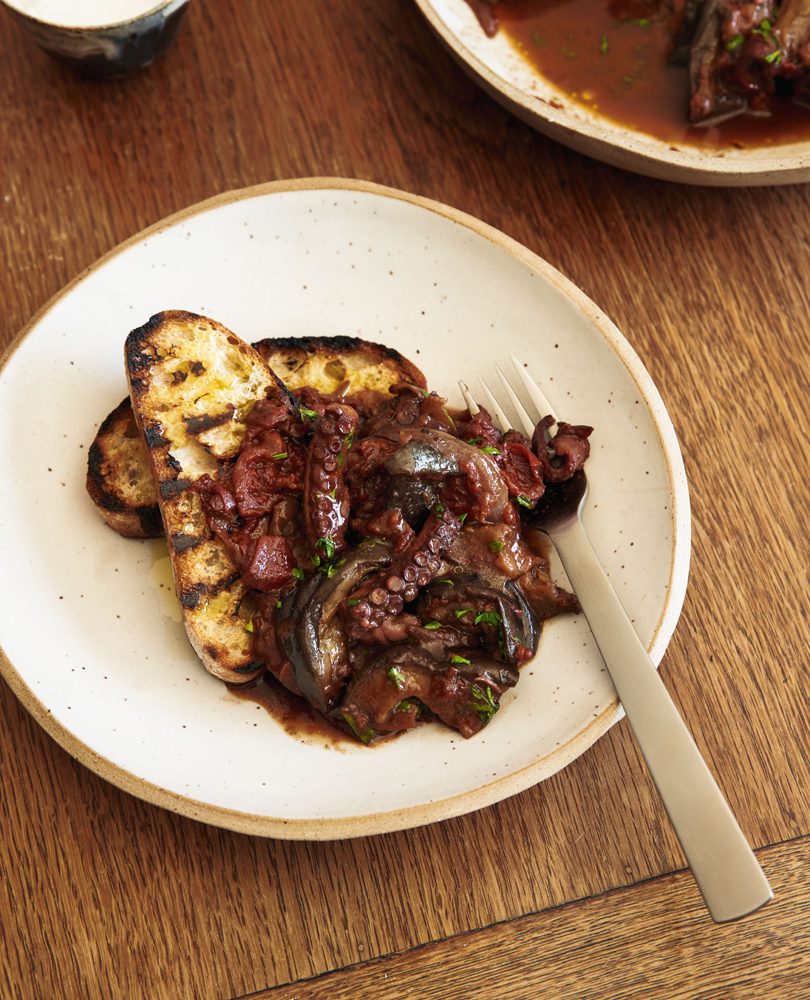
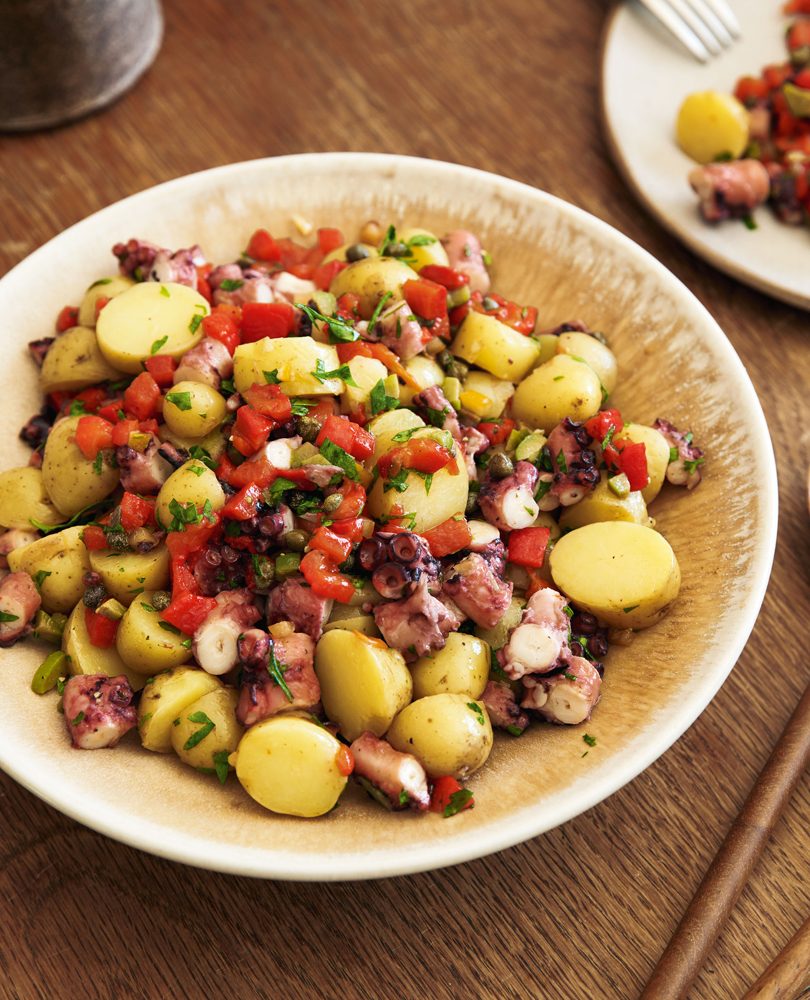
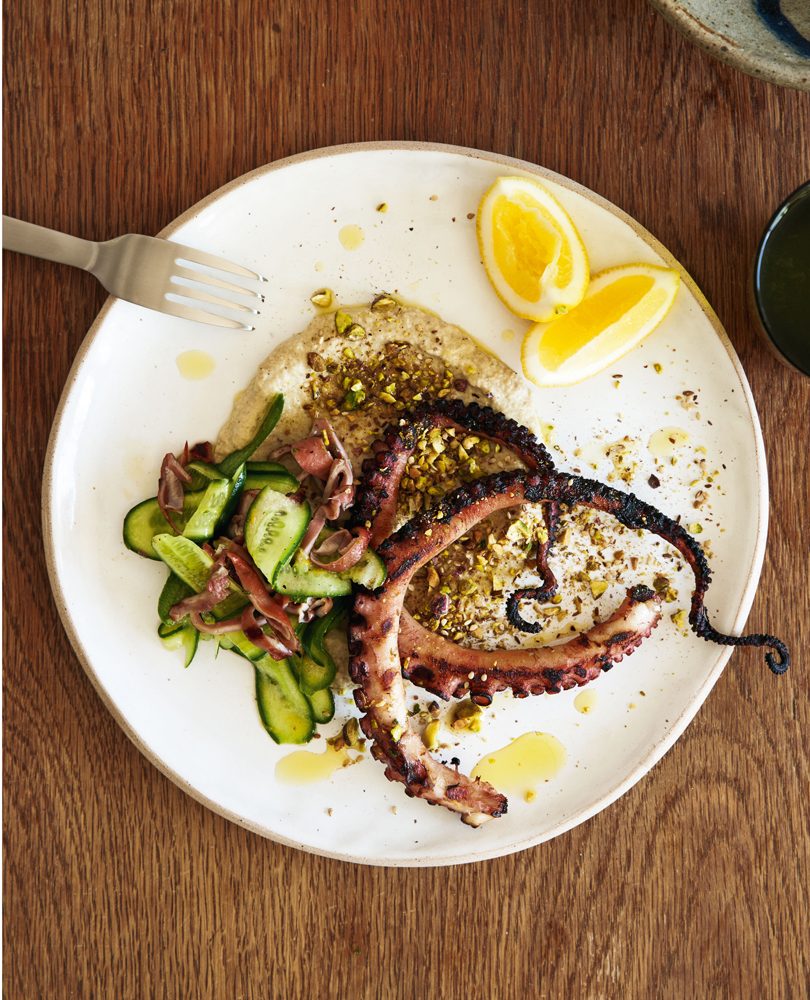
If you’ve watched the documentary My Octopus Teacher, which records the relationship between a free-diving South African filmmaker and an octopus, then you may never (like many of my friends) want to eat octopus again. Those of us that like eating cephalopods will no doubt continue to do so when the opportunity arises. Delicately flavoured octopus makes for delicious eating, but it does need a little care to soften the tough collagen to become tender. There are a number of different methods to achieve this but the easiest, and the one that I’ve found that gives the most consistent results, is a twice-cooked method. Simply cook the octopus in water at a bare simmer with whatever aromatics you choose to use, cool in the cooking liquid, then cook again using your preferred method. It can be hard to find fresh octopus (it’s only ever caught as bycatch and tends to be used as bait, which is a great shame) but this is one of the few situations where buying frozen is an advantage as the freezing helps to break down some of that collagen. This method will work for any size octopus, although you may need to adjust the cooking time.
COOKING OCTOPUS
1 octopus, fresh or defrosted
a few bay leaves
1 onion
There is no getting over the fact that octopodes are slimy, but I find that for the most part you can omit removing the beak (the hard piece where the tentacles meet) and eyes until after it is cooked and cooled. However you do need to remove and discard the innards from the head. If you are buying from a fishmonger then this may have been done for you, otherwise cut off the head, remove and discard the innards and clean. Also, make sure that the tentacle suckers are clean – you can remove the skin if you wish, although I often don’t bother unless it comes off easily.
Cover with just enough water. Add the aromatics and bring up to a gentle simmer. You shouldn’t need to add salt to the pan as the octopus is naturally salty. To keep the octopus submerged, you may need to put a small plate or bowl on top. Cook gently for 20-40 minutes (or sometimes a little longer), checking occasionally. When ready, a sharp knife inserted into the base of the tentacles should go in easily with just a little resistance. Remove from the heat and cool in the liquid. Refrigerate until required for up to 3 days.
PĀUA
Our native abalone, pāua, is one of the great joys of our kai moana. With its sweet and delicate flavour it is a true delicacy. It’s found throughout the country and really should be more popular than it is. I do recommend that you check mpi.govt.nz for detailed information on the best way to harvest them, quotas and size limits in your area (for most of the country the shell needs to be a length of 125mm with a limit of 10 per person). If you aren’t into collecting your own, Claire and Troy from Tora Collective in the Wairarapa catch pāua and crayfish to order and despatch it, nestled in layers of seaweed, the same day that it is caught.
Pāua is easy to prepare but it does need to be tenderised (the exception is the smaller farmed pāua which should already be tender) – there are a couple of ways to do this, both of which work well.
RAW METHOD
To remove from the shell easily, put the live pāua into a fridge or freezer for 30 minutes to 1 hour so they go to sleep. Tuck your thumb under the muscle at the pointy end of the shell, push using a bit of pressure to separate and loosen from the shell. Remove the hua (roe and stomach). You’ll also need to take out the two teeth from where the hua attaches to the meat, so gently press or cut these out. To tenderise, wrap the pāua in a clean tea towel and gently tap with a mallet, hammer or rolling pin around the skirt (epipodium), then the white muscle where the pāua attaches to the shell; you should be able to feel the muscle soften. You can remove the skirt (epipodium) if you wish – texturally it can be a little chewy – but it has a great flavour, so don’t discard it as it’s perfect for mincing. The roe, which is rich and strongly flavoured, can be eaten, too; pan-fry to serve alongside or chop into minced pāua for fritters.
BLANCHING METHOD
Put the live pāua into a fridge or freezer for 30 minutes to 1 hour. After removing the pāua from the freezer, put into a pan of simmering, salted water and cook for 1 minute, remove and plunge into iced water. Then follow the raw method for removing the meat from the shell and cleaning and tenderising (the plunge into water does help tenderise them slightly so you may not need to do much here).
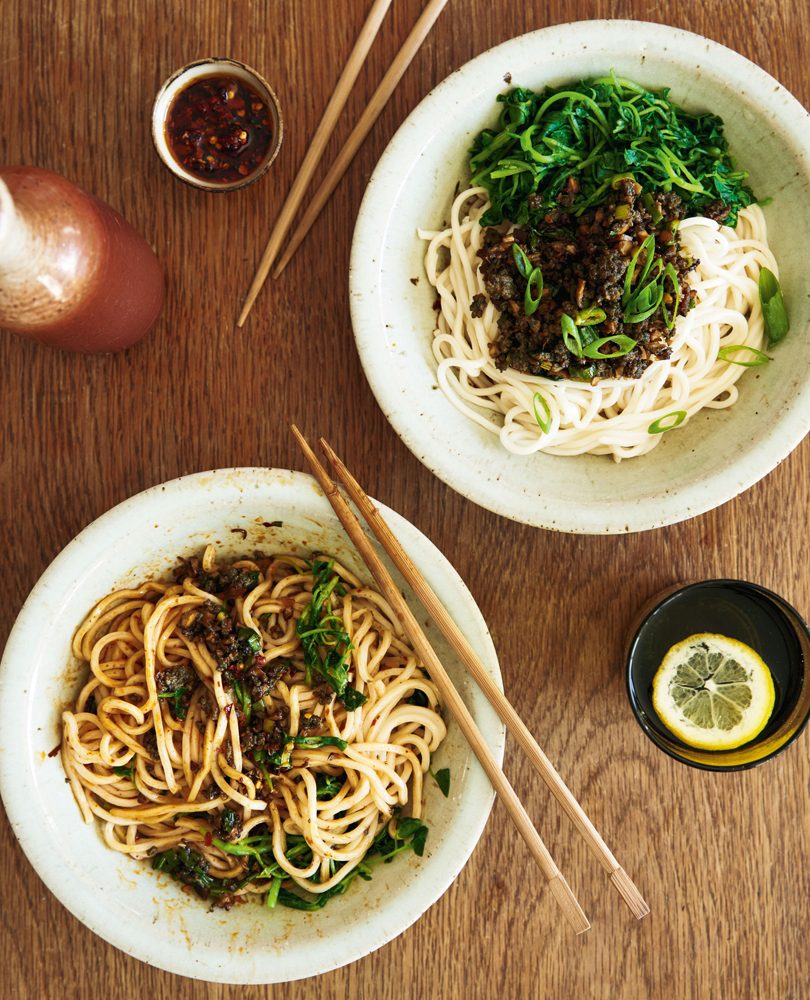
Both these methods assume that you are cooking pāua quickly and fast, but it also responds well to slow cooking. If you are mincing for fritters, slice and mince in a mincer if you have one, or pulse in a food processor to a medium to fine grind.

